Welcome to WhatsNewAndrew.com. My goal is to make technology easier and more accessible to everyone. Even those who do not consider themselves tech-savvy.
In Today’s post I am going to teach you how to create a cloud based Linux server and put it securely behind a firewall. Ready to get started?
For this post I will be using Linode which is a very competitively priced cloud provider. The server we will be setting up costs $5 and is plenty for a simple setup running a few applications. You can use the following link to get $100 in credit to use over your first 60-days with Linode. Create your Linode account here!
Building your cloud server
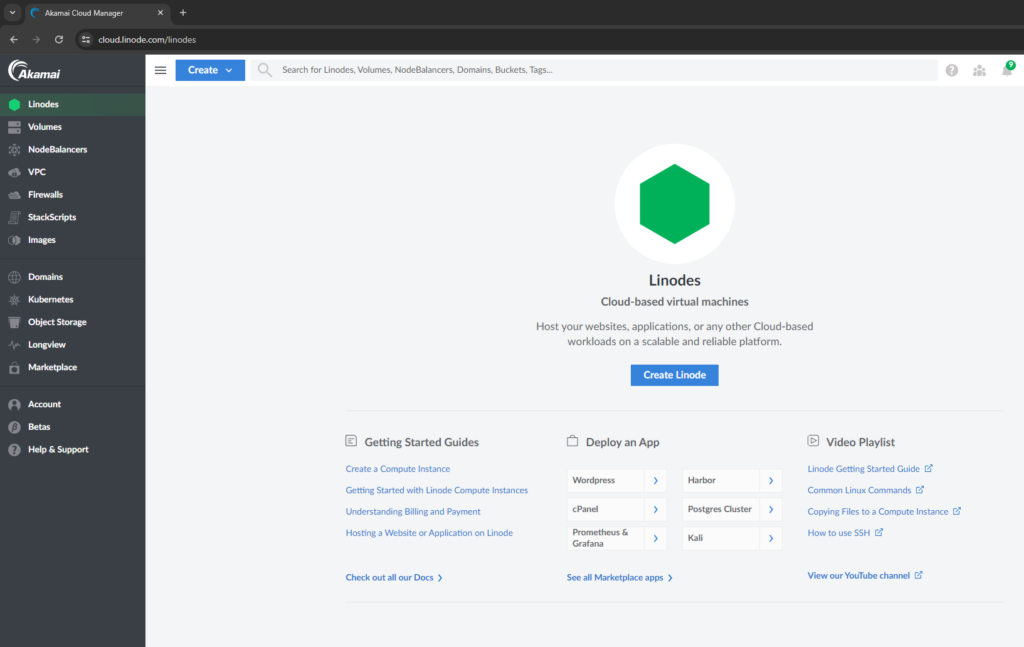
Follow the link above or go here to create a Linode account. Once that is complete you will be brought to the landing page where you can create new servers and host applications. Click Create Linode and you will begin…
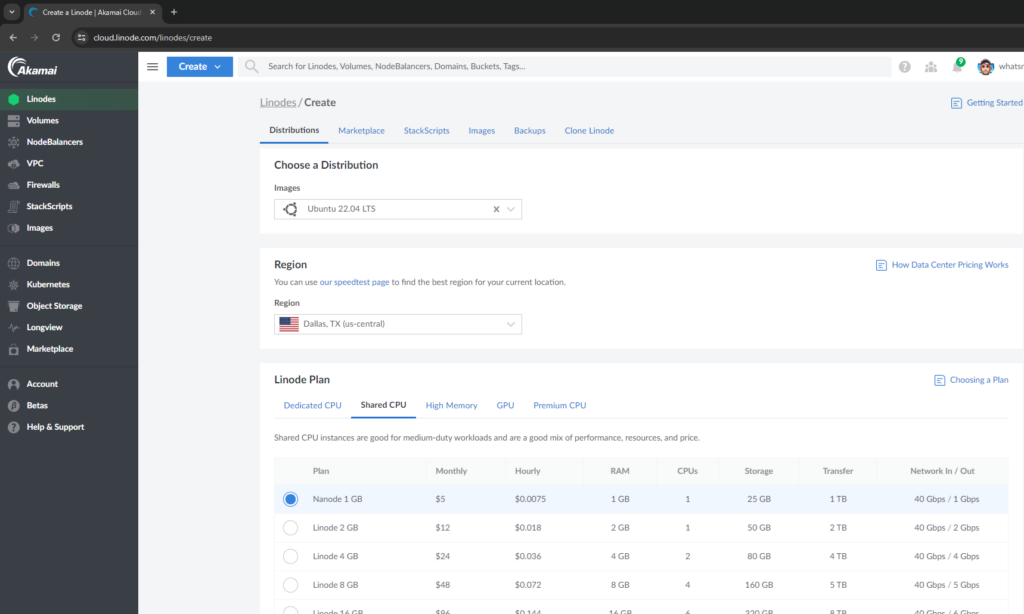
On the create page, choose a distribution and region. I typically choose the latest Long Term Support (LTS) version of Ubuntu which is currently 22.04. It is good practice to choose a region that is geographically close to you although it is not essential. For me, a close location is Dallas, TX
The Plan is where you want to be sure to choose the right one as this is where the cost is involved. For our simple server, we will choose a Shared CPU with the first option – Nanode 1 GB for $5 per month.
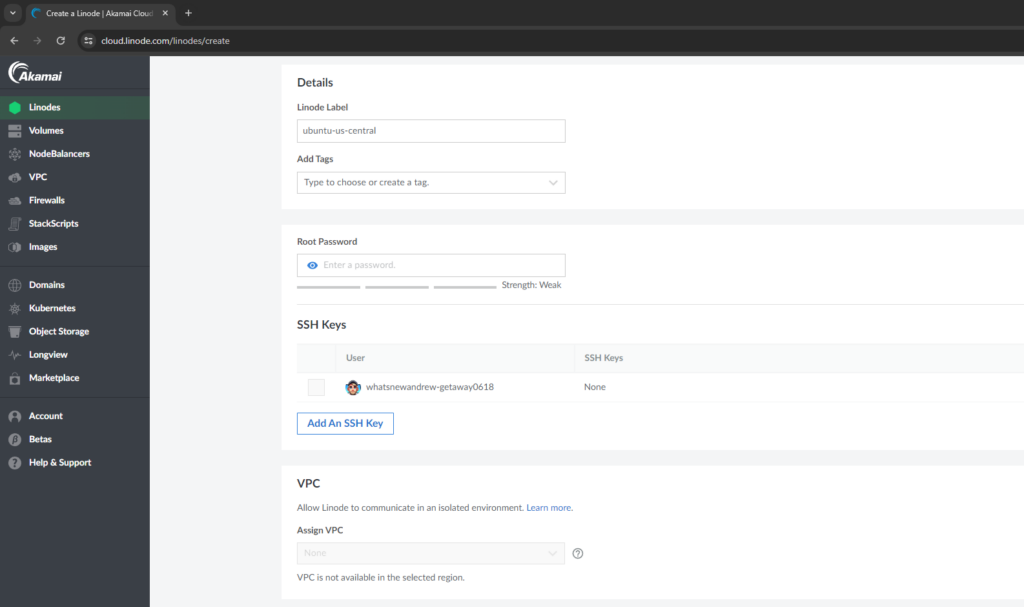
Below this you will label your linode (can be changed later), and enter a root user password. This should be a secure password and must adhere to some minimum standards. In other words, Password123 will not work. We will not use SSH keys in this example nor will we set up a VPC.
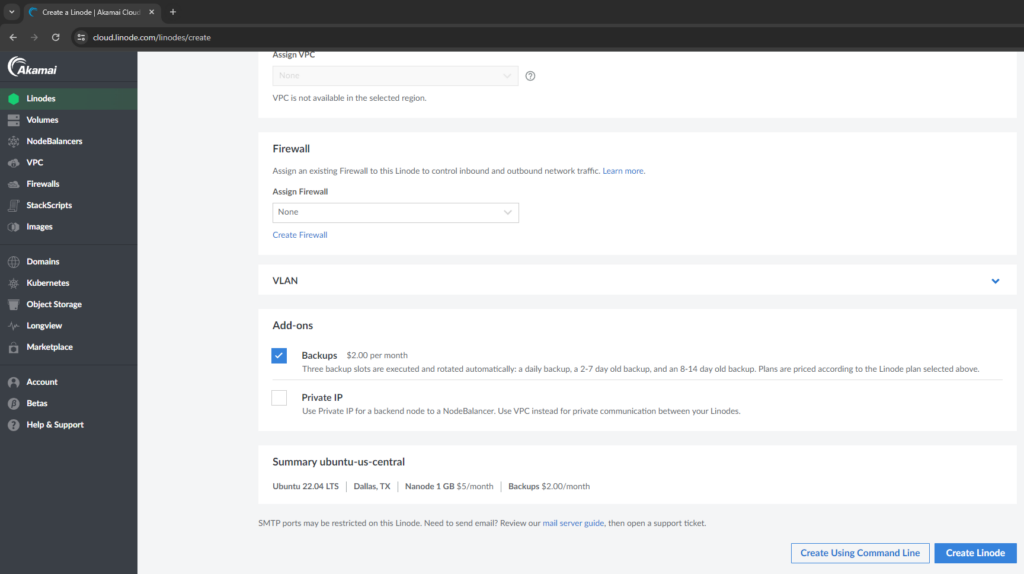
In the final section we will skip the firewall (we will set that up later), and then choose any add-on options you would like. I highly recommend adding Backups. Once you are done you will see the summary of costs, and all that remains is to click Create Linode and you are ready to go!
Your new server will go through provisioning and then boot up within a couple of minutes. At this point you have a fully functional Linux server. However, it is wide open to the internet, so let’s get it behind a firewall!
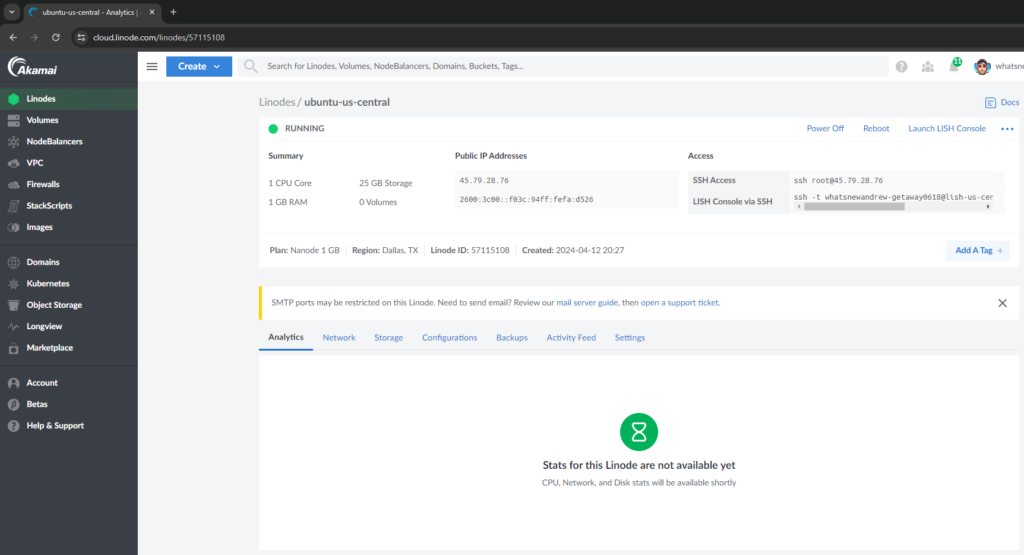
Creating A Firewall
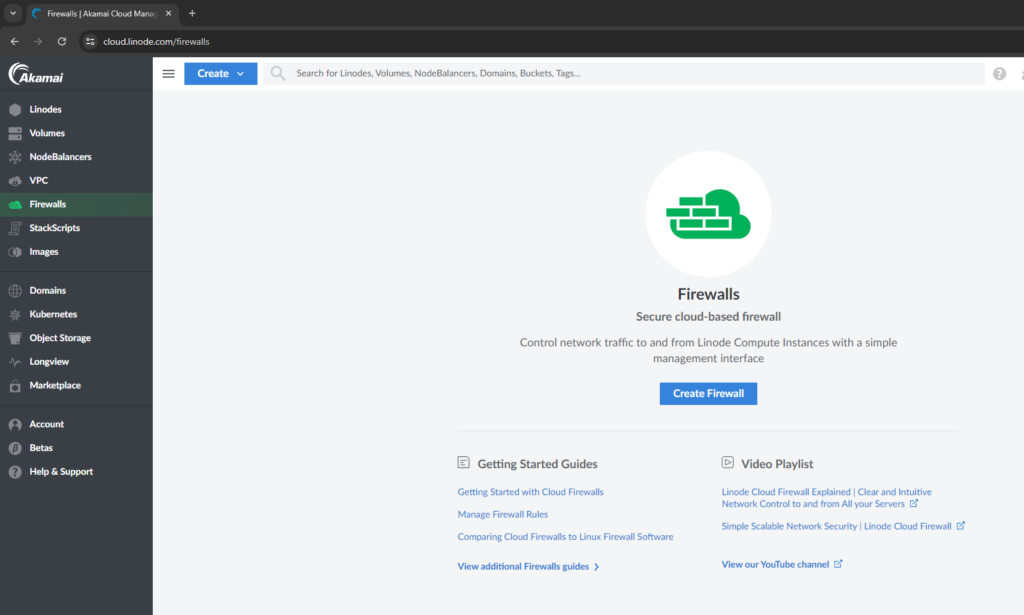
Click on firewalls to the left and in the Firewall landing page chooose Create Firewall.
In the Create Firewall dialog, Give your firewall a label and choose the Linode server we just created above.

You will be taken to your list of firewalls where you can click on the label to set things up.

In the detail section of your firewall, you will want to change the Default inbound policy from Accept to Drop. Then hit Save Changes.
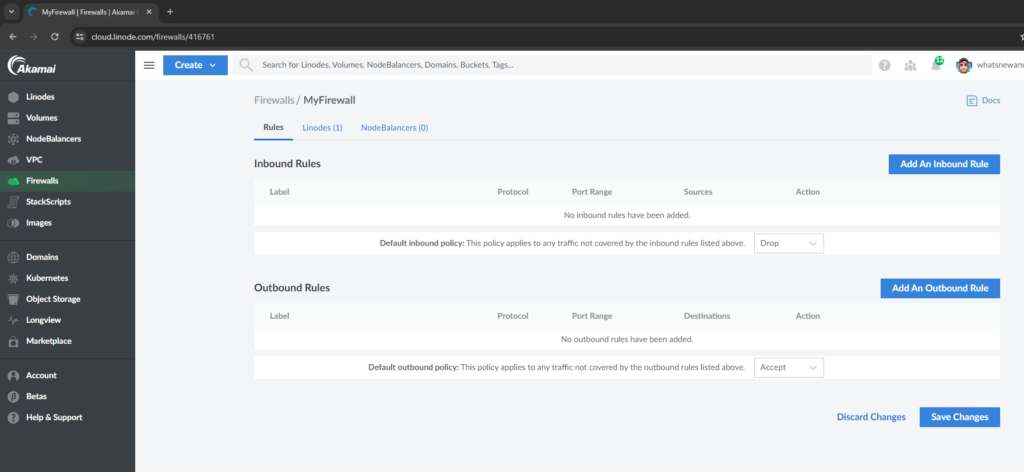
Congratulations! You now have a Linux server in the cloud that is secured behind a firewall. We will look at fine tuning the firewall in other posts and videos so that you are able to SSH into your server, set up a website, or do other tasks securely over the internet. Oh, and don’t worry that I am not blurring out any IPs or other details of the example server I have above. By the time this post goes live the server will be looong gone!
Andrew

